How to Carry Water Backpacking Effortlessly
How to carry water backpacking is the most asked question in the backpacking community. Carrying water seems to be difficult when backpacking, but it doesn’t have to be! If you do some research, plan, and prepare accordingly. In this water-carrying guide, we’re going to answer and outline all the questions about water carrying.
Define Your Trip’s Parameters: (Research and Planning)
How Long is The Trip
Backpacking is an experience that many people enjoy, but it can be more challenging, depending on your destination. The trails are usually longer, and the backpackers might spend anywhere from one to seven days living in the wilderness. Some backpackers only go for a day hike, while others plan to hike far into nature. Backpacking trips can be grouped into three different categories: weekend, multi-day, and extended trips.
Answering ‘how long will your trip be?’ determines things like water and food needs.
How Far You Plan To Go
There are a few factors to consider when planning a backpacking trip: the length of the hike, the difficulty of the hike, and where you want to go. Think about how long you want your backpacking trip to be and what sort of terrain you’ll be going over; these will help determine the hike’s difficulty level.
When you’re going on a backpacking trip, it’s a good idea to define the trail and how far you plan to go at the very beginning.
Know The Trail
Setting out on a backpacking expedition can seem like an exciting and adventurous challenge for any outdoor lover, but it is important to make sure you know the trail before you go. This will ensure that your trip is safe and stress-free. Mapping out the trails ahead of time is the best way to get a feel for what kind of terrain you will be hiking through. Research the area you plan to hike and understand the terrain, weather, and wildlife in that area. Some areas have high possibilities of bears, coyotes, or rattlesnakes, so always wear appropriate clothing and shoes when you go out for your day hike.
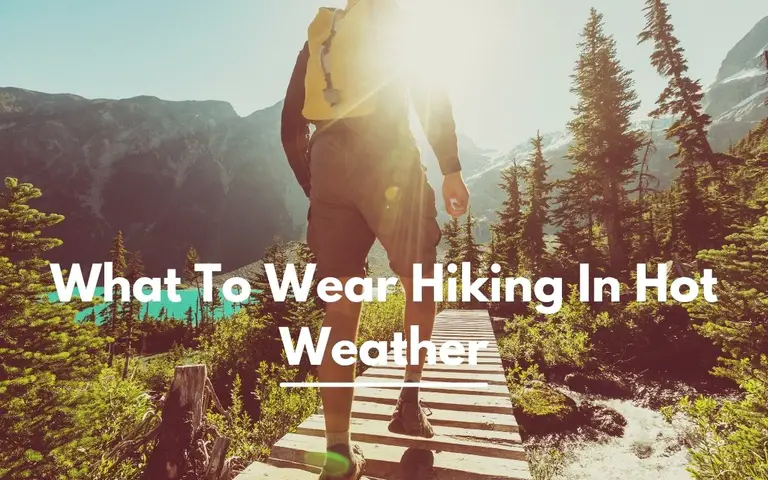
When hiking, it is crucial to wear the proper attire so that you don’t get overheated. What you wear on your body will factor heavily into how much you sweat and how much water you need to consume. Here are some tips for what to wear when hiking in hot weather. If you don’t know the landscape well, consult a knowledgeable person or browse online for photos and trip reports. These factors can affect your hike and keep you from getting to your destination. So, do research before you pack your backpack.
Look For Water Sources
You might often overlook the potential water sources. But one of the most important things that you should do before even starting your trip is to go over its potential sources of water and plan accordingly. For instance, you should also check if there are any natural springs or streams nearby.
There are many ways to find water on a hiking trip. One way is to use a map of the area, which often has information about where water sources are located. Another way to find water is by looking at vegetation. Plants that have thick leaves need more moisture than plants with thin leaves, so if you see plants with thick leaves, then there is probably some nearby water source. In heavily forested areas, rain is a common source of drinking water, while streams usually flow year-round.
Your first step should be to find out if there will be a water source at the campsite or trailhead. If not, you may need to bring additional water with you. During the summer months, water sources can dry up, so it’s vital to check trail descriptions before embarking on a hike. When planning your supplies, look for a water source before you go.
How to Carry Water Backpacking – Water Carrying Methods
Although carrying water on a backpacking trip may seem like a daunting task, it is actually quite easy. There are many different options for carrying water. Look at the methods!
Hydration Packs & Hydration Bladders
Hydration packs and hydration bladders are a great way to drink water on the go and stay hydrated. The quality of hydration bladders and hydration packs has improved over the years, and they now offer many options for those people who want convenience with their hydration needs.
It’s flexible and can hold a large amount of water. It’s also easy to drink from. Most bladders take up very little space when empty. And it’s convenient to have water close to you. Backpacking backpacks come with an internal hydration compartment to store the hydration bladder. This is the most convenient way to reserve water in an internal refillable bottle in your backpack and drink it through a tube on the go with ease.
On the other hand, a hydration pack is a backpack with pockets for water bladders. They are very similar to regular backpacks. These items can be used for any number of activities, such as hiking, biking, and other sports. Hydration packs also come with a tube that can be used to drink on the go.
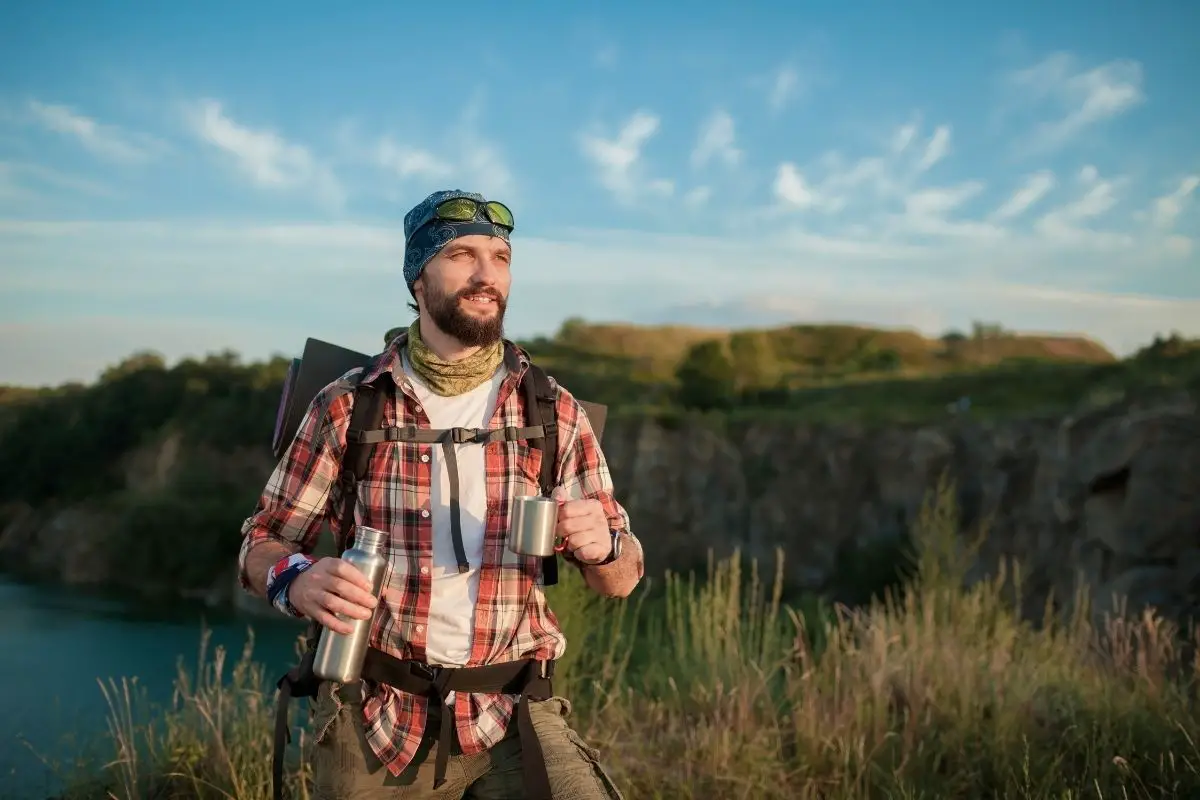
Water Bottles
A reusable water bottle is another way to carry water while backpacking. A single 34-oz water bottle can hold one liter of water. Whenever it can be difficult to refill a bladder, a reusable bottle may be a better option.
Choose a water bottle that won’t bounce around on the trail. A soft or rubber water bottle is best for hiking. You should also consider carrying it in your hand while backpacking. Once you have filled the bottle, you can attach it to your pack.
A stainless steel water bottle is another great option, but if you’re not willing to shell out the extra bucks, there are other options. Plastic or aluminum bottles are cheap and can be found anywhere.
Collapsible Water Bottle
As we said, there are several options for water storage while backpacking. Another common choice is to carry a collapsible bottle, which is extremely lightweight and can fit into tight spaces. Collapsible water bottles are lightweight and should be treated with care. Sharp objects or other things can puncture it, so take care when handling the bottle.
MSR Dromedary Bag
Another popular option for carrying water is a Dromedary Bag. A Dromedary Bag, also known as a Camel Bag, consists of a tube and a water bladder. The tube connects to the bladder with a valve that can be squeezed to release liquid into your mouth. Many people do not put a lot of thought into how they carry their water while backpacking. While some people prefer to use a hydration bladder, for those who have one or two liters of water on hand, the MSR Dromedary is the best option. Simply fill up the bag with water and hang it from the backpack handle or shoulder strap for easy access and distribution of the weight. The fabric is durable and can withstand high temperatures like most outdoor gear.
MSR dromedary bags are a great way to drink and stay hydrated while backpacking. These bags hold up to 2 liters of fluid and can be used as either a drinking vessel or as a reservoir for your water filter. The MSR Dromedary Bag is lightweight, easy to fill, and easy to carry with the help of the strap that comes with it.
Water Filtration Device
In the backcountry, it is common for water sources to have bacteria and other contaminants that can cause issues like nausea, vomiting, diarrhea, fever, abdominal cramps, or more serious health conditions. It is advantageous to carry a water filtration device when hiking, camping, fishing, paddling, or any outdoor activity where there is a risk of drinking unclean water.
There are many types of filters available, and they come in different shapes and sizes, ranging from small straws to large purification systems.
If you frequently go backpacking, you should invest in a water filter. This device will allow you to have drinkable water without having to carry around heavy bottles of it.
You should drink one liter of water for every two hours of hiking. Ideally, you should only carry the water you need to drink. For example, if you’re hiking in an area where there are plenty of places to drink, you don’t need to carry more than a liter of water. Just remember to drink before you start and hydrate properly before you’re on the trail.
But if you don’t have access to a natural source of freshwater, you might want to bring a couple of liters of water. That way, you can be confident that you’ll be able to refill your water bottles in time for the duration of your trip. This will also ensure that you have enough liquids for the day.
LifeStraw personal water filters will save you from the trouble of carrying gallons of water for your campsite, while only weighing 2 ounces. With this filter, campers can drink water anywhere and anytime they want. LifeStraw is used in 200 countries around the world due to its quality, lightweight design, and ease of use.
You simply pull it open and put one end into the water source (a creek, river, etc). It can remove bacteria and protozoa as well as chlorine, heavy metals, and other pollutants. The straw is small enough that it can fit in a pocket or backpack without adding too much weight, though it requires no batteries or power source of its own.
The process of treating water for backpacking is not very complicated, but it is important to be mindful of how to do it properly in order to avoid getting sick.
FAQs
How do you manage water when backpacking?
One of the best ways to prepare for water management while backpacking is to make a plan. Know the distance to water sources on your hike. Find out how many miles will be covered between each source. Knowing this information will help you determine how much water you’ll need. You’ll also be able to estimate how much time it will take you to hike those miles.
What’s the best way to purify water?
Boiling water is one of the most reliable ways to kill bacteria and purify drinking water.
The second method to purify water is through chemical or ultraviolet methods. Chemical methods include iodine tablets, chlorine bleach. Ultraviolet methods include using an ultralight water purifier like SteriPEN. Personal water filters are another great method to remove bacteria and other contaminants. You can carry a lightweight personal water filter to enjoy safe drinking water in the backcountry.
What is the difference between a hydration pack and a hydration bladder?
A hydration pack is a backpack with a water bladder. They are very similar to regular backpacks, but have pockets for water to be stored. Hydration packs are great because they evenly balance the weight of the backpack. On the other hand, a hydration bladder is a reservoir that holds water to be consumed during an activity. The bladder can either be carried on the back, depending on the style of backpack.
How much water should I carry?
The amount of water an individual needs varies depending on the person’s age, weight, fitness level, and outside temperature. The general rule is that you should carry at least 1 liter of water per hour you plan to hike. For example, if you are planning to hike for 6 hours, then you should carry 6 liters of water with you.
How to Carry Water on a Backpacking Trip- Bonus Tips
- Before you leave for a backpacking trip, it’s important to consider your budget and experience level.
- Determine the type of hiking trip you’ll be doing. Will you be walking or hiking? How long will your hike be? What kinds of landscapes will you be traversing? What terrain will you encounter? Once you have all this information, you’re ready to plan your route.
- If you’ve never hiked before, consult a friend or family member who has experience in the area you’re planning to visit. You can also read online guides and read trip reports to find out what to bring.
- If you’re going on the Appalachian Trail, you need to have a calorie-conscious diet.
- The heat can be unbearable when hiking in the summer. Opt for light-colored clothing that will reflect sunlight instead of absorbing it, and wear a hat for protection from the sun. When choosing your shoes, make sure they have good traction to keep from sliding on wet surfaces or rocks. You might also have to take an extra pair of socks in case your feet start to sweat.