How to Sew a Patch on a Backpack – Easy Steps
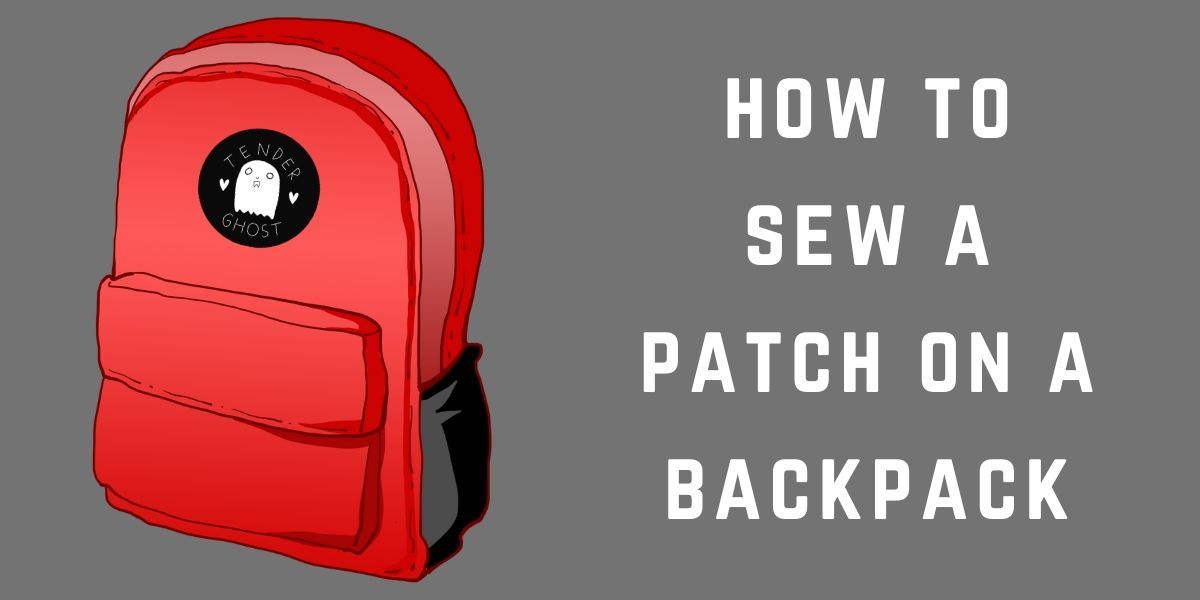
Sewing a patch on a Backpack is something that is not only done out of trend but also a fun activity that includes showing off those collected patches from your journey to different places.
Stitching those patches on your bag displays your craze for different fandom and your preferred fantasy world. Be it to hide torn places or to stylize your bag pack, patches are hard to be ignored.
You can sew a patch with a hand needle or a sewing machine. But both ways include some common steps that make the sewing easier for your convenience. Backpackers Trip has come with an easy step-by-step guide on sewing patches on a backpack. What are you waiting for then? Let’s grab the needle and start sewing!
Choosing Color Threads
There’s really no rule in this case actually. You can choose a thread with the exact color of the patch, or the color can be contrasting to the original one. Depends on how prominent you want those borders to look.
Placing the Patch
If you’re using your backpack for a long time it may get dirty. In that case, before putting on patches you should go for a deep wash. Follow these quick and simple steps to wash your backpack; Have a clean and fresh backpack in an instant!
Select the place on the bag where you want your patch to be. They sometimes come as stickers with glue on the back. You can place the piece and apply steam heat from the iron on the front side for it to stick. If there’s no glue on the back, pin down the tag on the fabric to keep it in place.
These are the general steps before sewing the badge into the fabric. You need to follow different directions for hand sewing and machine sewing.
In Case of Hand Sewing
- Take 20-30 cm of the thread and push one side through the eye of the needle. One of the loose ends should be shorter than the other.
- Tie a knot at the end of the thread. Push the needle up directly from inside the bag pack to the outside where the patch is placed so the knot can’t be seen.
- Make run stitches alongside the border of the badge. You can also use whip stitches that include the process of grabbing a little portion of the base fabric and then a little portion of the patch and continue with it.
- When the sewing is done, create a knot by looping the needle through the last stitch multiple times. Then push the needle back to the outside of the bag and then pull it back on the inside for one last stitch. Cut off the excess thread.
- To make the stitches stronger, you can repeat the same process 3-4 times.
- Take those pins out from the tag. You don’t want to make tiny holes in your precious fingers, now do you? Use thimbles while you hand sew the patch. The material can sometimes be thick due to the designs on it.
In Case of Using Sewing Machine
- Put the patch stuck to the bag under the sewing needle. You don’t want to sew another pocket inside the bag, so make sure to take one single part of it.
- Put your preferred thread into the machine’s needle.
- If you’re a craft enthusiast and you like the machines updated, then you surely have different designs to work with. Select one of the designs and firmly place the needle above the working portion.
- To secure the stitches, sew backward for a little and then sew forward alongside the boundary line of the badge.
- Don’t rush through your sewing. Make sure of the needle being pushed through both the fabrics of the bag and the patch.
- Move the material under the needle according to its shape.
- When you reach the starting line of the fabric, stitch over 3-4 times to secure the sewing.
- Your sewing is finished! Now remove those safety pins.
- Cut off the extra thread.
- Pull out the bag from under the needle.
- Make sure to wear thimbles so you don’t stitch yourself to the bag as well.

Conclusion
Now your bag pack looks cooler than your friends’, don’t you agree? Don’t overthink the patterns, just go with your instinct and attach that beautiful piece of art by following these steps on how to sew a patch on a backpack. Aren’t these the easiest steps?
Furthermore, If you are looking for EDC (Every Day Carry) backpack you can read this buying guide too.
Tips: Sometimes you may want to sew patches on your uniforms. Read this in-depth article on ‘How to Sew a Patch on a Uniform‘